How it works
All 8 steps in the same order as on the home page. Each element is labeled.
Upload a selfie
One good straight-on selfie — even light, face centered in the frame
Upload your best photo
Choose your best selfie
Click the box or drag a photo here
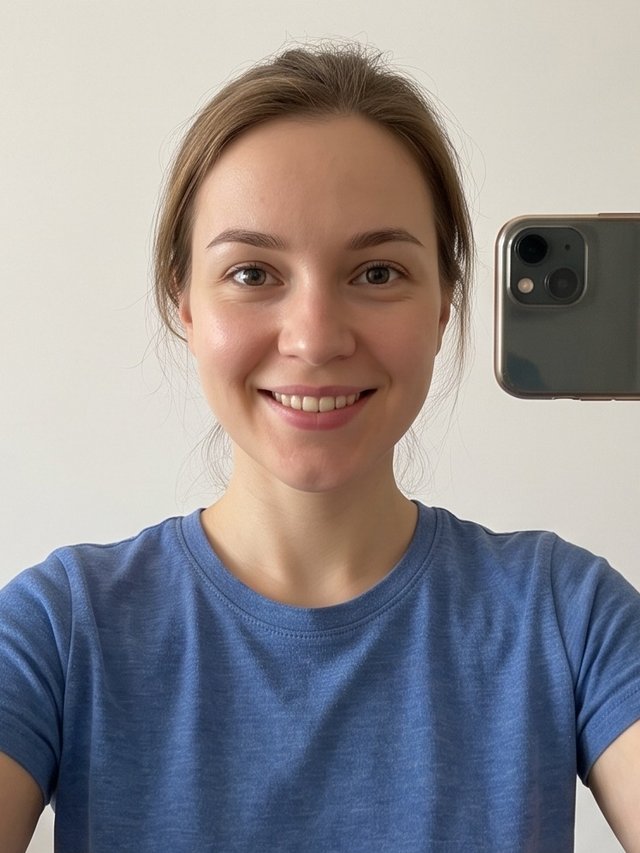
- 1
Upload box
Click it or drag a photo. Upload one good selfie — best straight-on.
- 3
Your selfie
One photo — straight-on, face centered. The model “remembers” your features and generates a document photo.
- 4
“Next →”
Proceeds to choosing the document. Until at least one photo is uploaded, the button is inactive.
Choose a document
Which format the photo will be cropped to — each document has its own standards
Where are you going to submit the photo?
- 1
Document grid
Each document has its own requirements: photo size, face share in the frame, background. The choice determines exactly how the finished photo will be cropped.
- 2
“← Back”
Return to uploading the photo and replace the shot.
- 3
“Next →”
Proceeds to choosing the gender. You can change the document later — the “Back” button brings you back here.
Who is in the photo?
Gender affects the generation prompt: clothing, hairstyle, proportions
Who is in the photo?
- 1
Gender buttons
Woman / Man / Child. AI picks clothing and style to fit gender and age — so you can't mix them up.
- 2
Description under the buttons
Appears right after the selection — a short hint of how the result will look.
- 3
“← Back”
Return to choosing the document.
- 4
“Next →”
Proceeds to choosing the clothing.
Choose the clothing
Own — as in the selfie, business — a suit, casual — a jumper or a turtleneck
What clothing on the photo?
- 1
Three clothing styles
“Own clothing” — you stay in the clothing from the selfie: AI only tidies it up. “Business” — a suit for documents. “Casual” — a neat jumper or turtleneck. For kids — an age-appropriate suit.
- 2
Description of the chosen style
Shows how AI will change your clothes on the photo, even before generation.
- 3
“← Back”
Return to choosing the gender.
- 4
“Generate photo”
Runs the AI (1 photo). Active only when a style is selected. This is the last step before generation.
AI makes your photo
Generation and crop check — usually up to 5 minutes
Generating your photo… 67%
Photo ready — evaluate the result
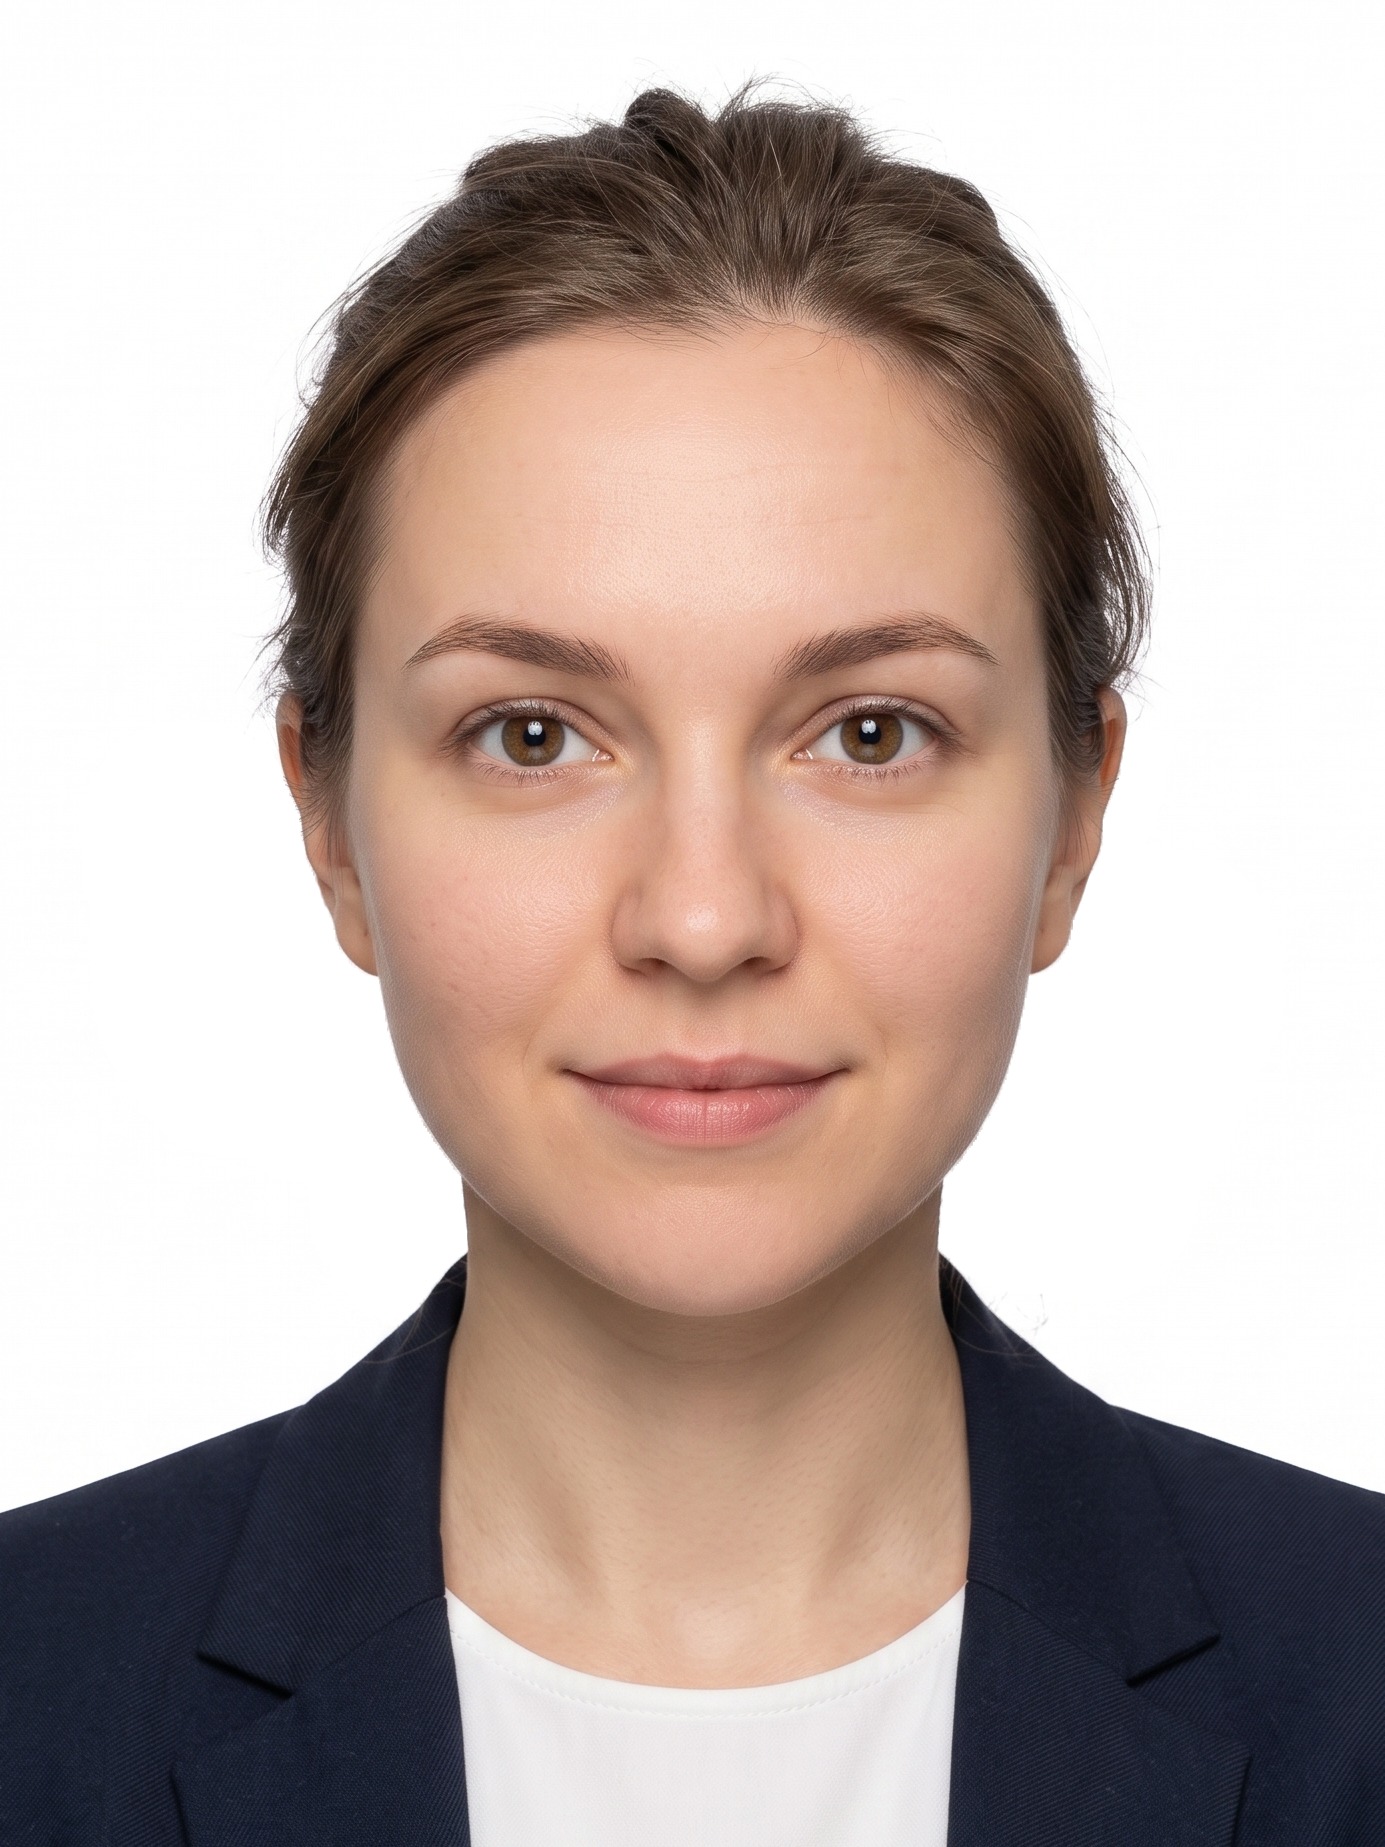 Done ✓
- 1
Progress bar
AI removes the background, evens the light, changes clothes, crops to the document standards. Usually the result is ready in 1–5 minutes. If the site is busy, generation may take longer — that's fine: the order won't go anywhere, it'll appear in your personal account and a link will be sent to your email. You can calmly do your own things. If after 30 minutes there's no result — write to our Telegram @fotopasbot and send the order number (a /d/… link from the email or your email — by it we'll find the order).
- 2
Gold credit — clean result
You pay per the service rate (documents 5⚡). After a paid service the result is immediately without a watermark, and 1 free redo remains if you don't like it.
- 3
“Blue credit — a try”
3 free tries per account. The result has a watermark — to look and decide. You can remove it only with gold credits.
Pay and download
Removing watermarks + JPG for submission and PDF with 4 copies for printing
preview with watermarks
After payment the JPG and PDF download buttons open
- 1
“Pay 5⚡”
Removes the watermark and opens the download. Payment by Visa, Mastercard, Belkart via bePaid. As a gift with the payment — one free regeneration.
- 2
“⬇️ Download photo” (JPG)
Clean high-resolution photo. Needed by those submitting documents online — US, UK, Canada visas accept a digital file — or those who want to print at a photo salon. For online submission the file is prepared to the official form parameters — format, size and weight (details in the box below). For ordinary documents a PDF is enough.
- 3
“📄 Download PDF”
A sheet with 4 copies of 35×45 mm, ready for home printing. Fits most documents: passport, foreign passport, driver's license. Downloaded and printed — done.
✨ Our specialty: digital submission without redos
Submitting documents online — green card or US visa, UK, Canada? We prepare a file according to the official form parameters: the right JPEG format, size and weight — you don't need to convert or adjust anything by hand. Always check the exact requirements in the form you're submitting the photo to:
- USA (visa/green card, travel.state.gov): 600×600 px, up to 240 KB
- UK (gov.uk): 600×750 px, up to 6 MB
- Canada (IRCC): 420×540 px, up to 4 MB
For other documents — printing the PDF, like in a photo salon.
Personal account
All orders in one place: status, preview and re-download
Personal account
Sign in with Google or Telegram
Order 09.08.2026
Awaiting payment
🔗 Copy order link
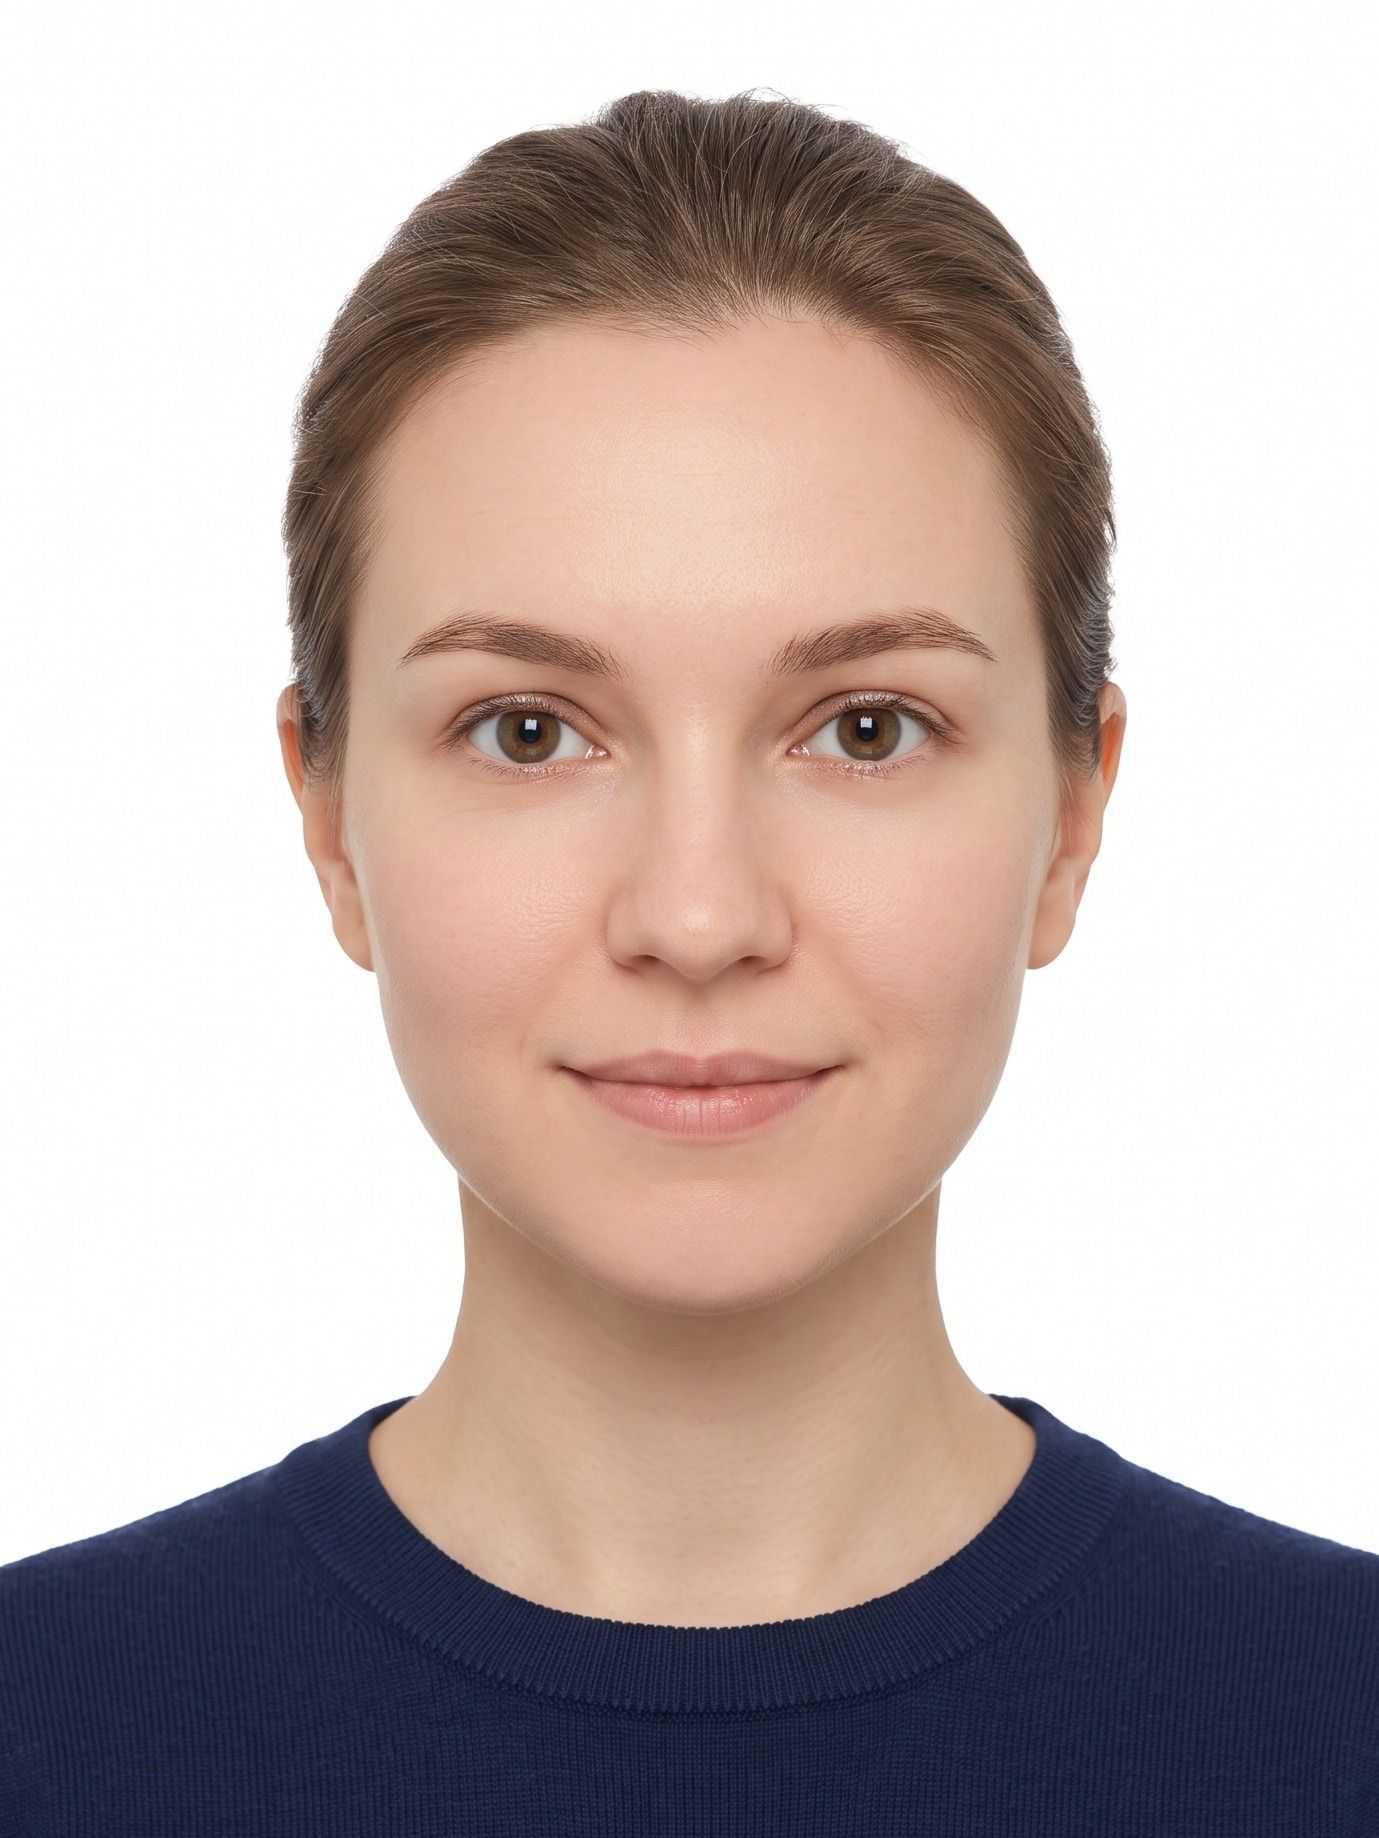
Order 08.08.2026
Paid
- 1
Sign in — “Sign in with Google”
The button in the site header (or “My account”). Signing in with Google or Telegram takes a second — orders attach to your account automatically.
- 2
“My orders”
The page in your account: all generations with date, status (“Awaiting payment” / “Paid”) and preview. A new order appears here right after generation.
- 3
Download in the account
After payment, the “Download photo” and “Download PDF” buttons appear right in the order card — you can download as many times as you like, even a month later. Next to it is the “🔗 Copy order link” button — useful if you need to write to support.
- 4
If you signed in without an account
The order won't disappear: its link is sent to your email (as /d/code). Just open it — and you can pay or download.
Support
If something went wrong — write to Telegram: we reply fast
Telegram — @fotopasbot
The “Support” button in the account and in the site footer
You
Hello! My order result didn't arrive. Order link: fotopas.by/d/G033CvFQ… My email: [email protected]
FotoPas
Hello! We found your order, checking — the result is already on its way. 🙌
- 1
Where to write
Telegram bot @fotopasbot — the link is in the site footer and in the “Support” button in your personal account. We reply within the working day, usually faster.
- 2
What to send — the order number
The order number is a /d/code link. It's in the email, and under each order in your account there's a “🔗 Copy order link” button — click it and paste the link into the message. By this code we find the order instantly. If there's no link — send the email you made the order with: we'll find it by that too.
- 3
What you don't need to write
Don't send photos and an “it doesn't work” description without an order number or email — without them we can't find your order and help. Sending the link or email once is enough.
No queues or trips to a photo studio — everything is done online
Make a photo for 5⚡